Fuji
This guide is based on the Toyota GR010-Hybrid Hypercar, other classes will vary greatly. My advice would be to run with this guide and adjust accordingly to the car you’re using.
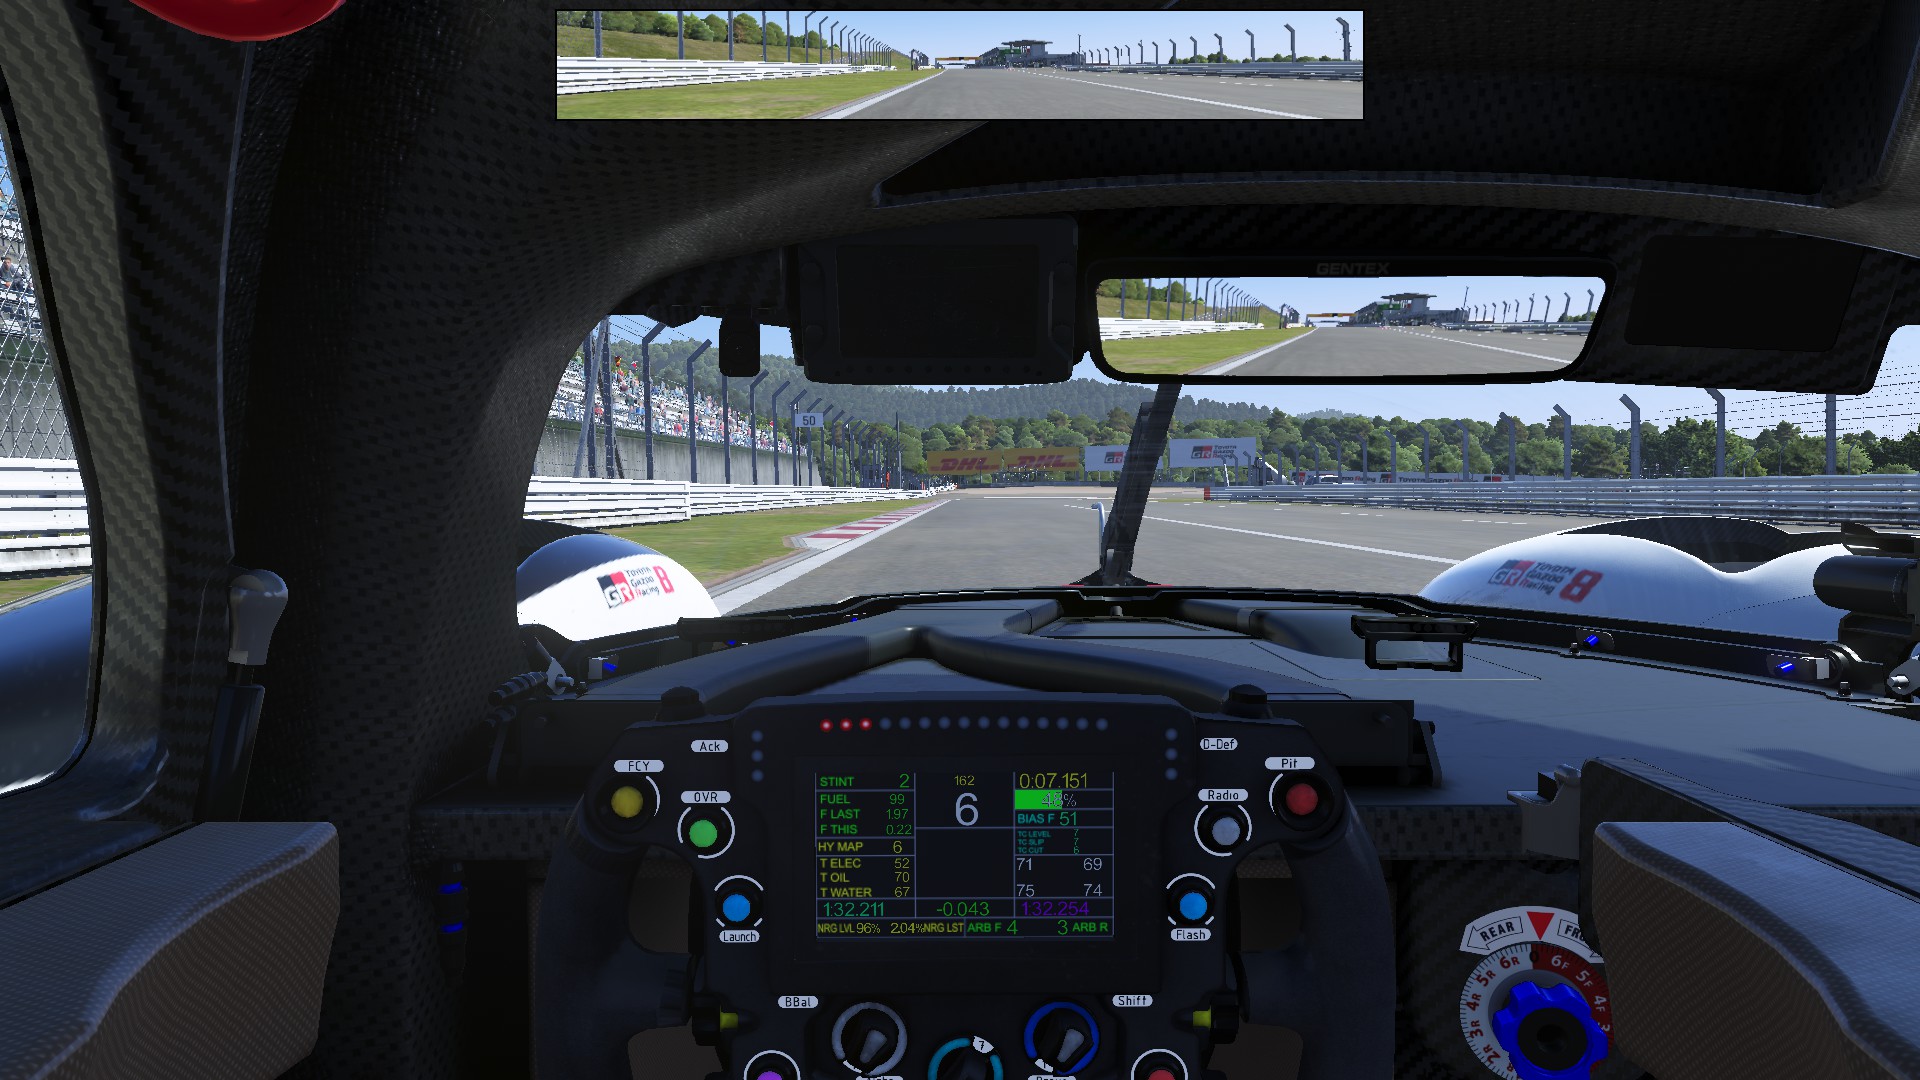
After you blast down the 0.9-mile home straight, you arrive at the first corner, Daiichi. Be mindful of cars exiting the pits, the pitlane exit is notoriously short. I have had great race results ruined by cars rejoining from the pitlane, be aware!
Brake just after the 150 board and the start of the left-hand side kerb. Remember, the key to race pace is consistency and this first big braking point is where many mistakes are made, especially under pressure.
Once you hit the middle apex of the first hairpin, start opening your wheel out to run out over the kerb to get the best exit through the second corner. Keep your right side wheels solidly on the kerb so as not to invalidate your lap.
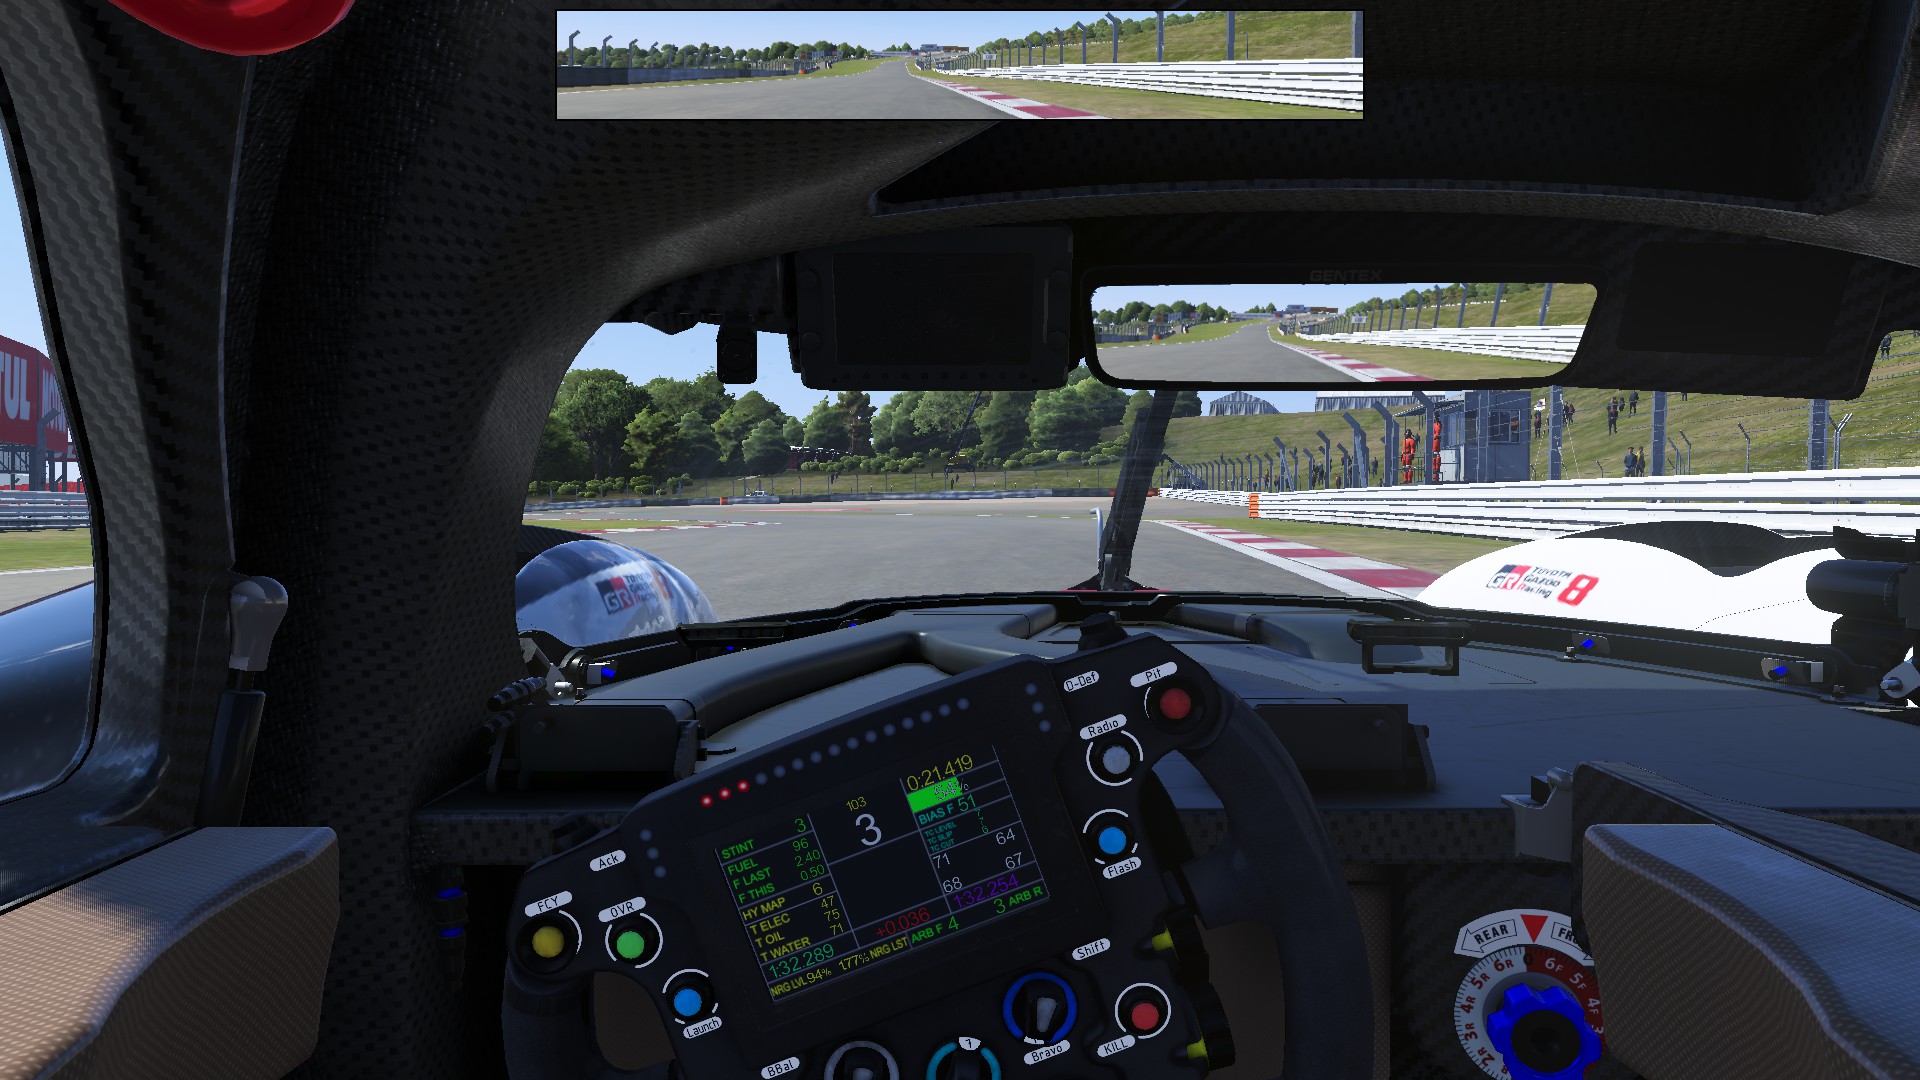
The short run down to the third turn, Coca-Cola Corner, should involve you drifting slowly from the middle of the straight to the right before you tap the brakes at the 50 board and drop down from 5th gear to 4th. Make sure you use all the kerb on the inside, but avoid the grass.
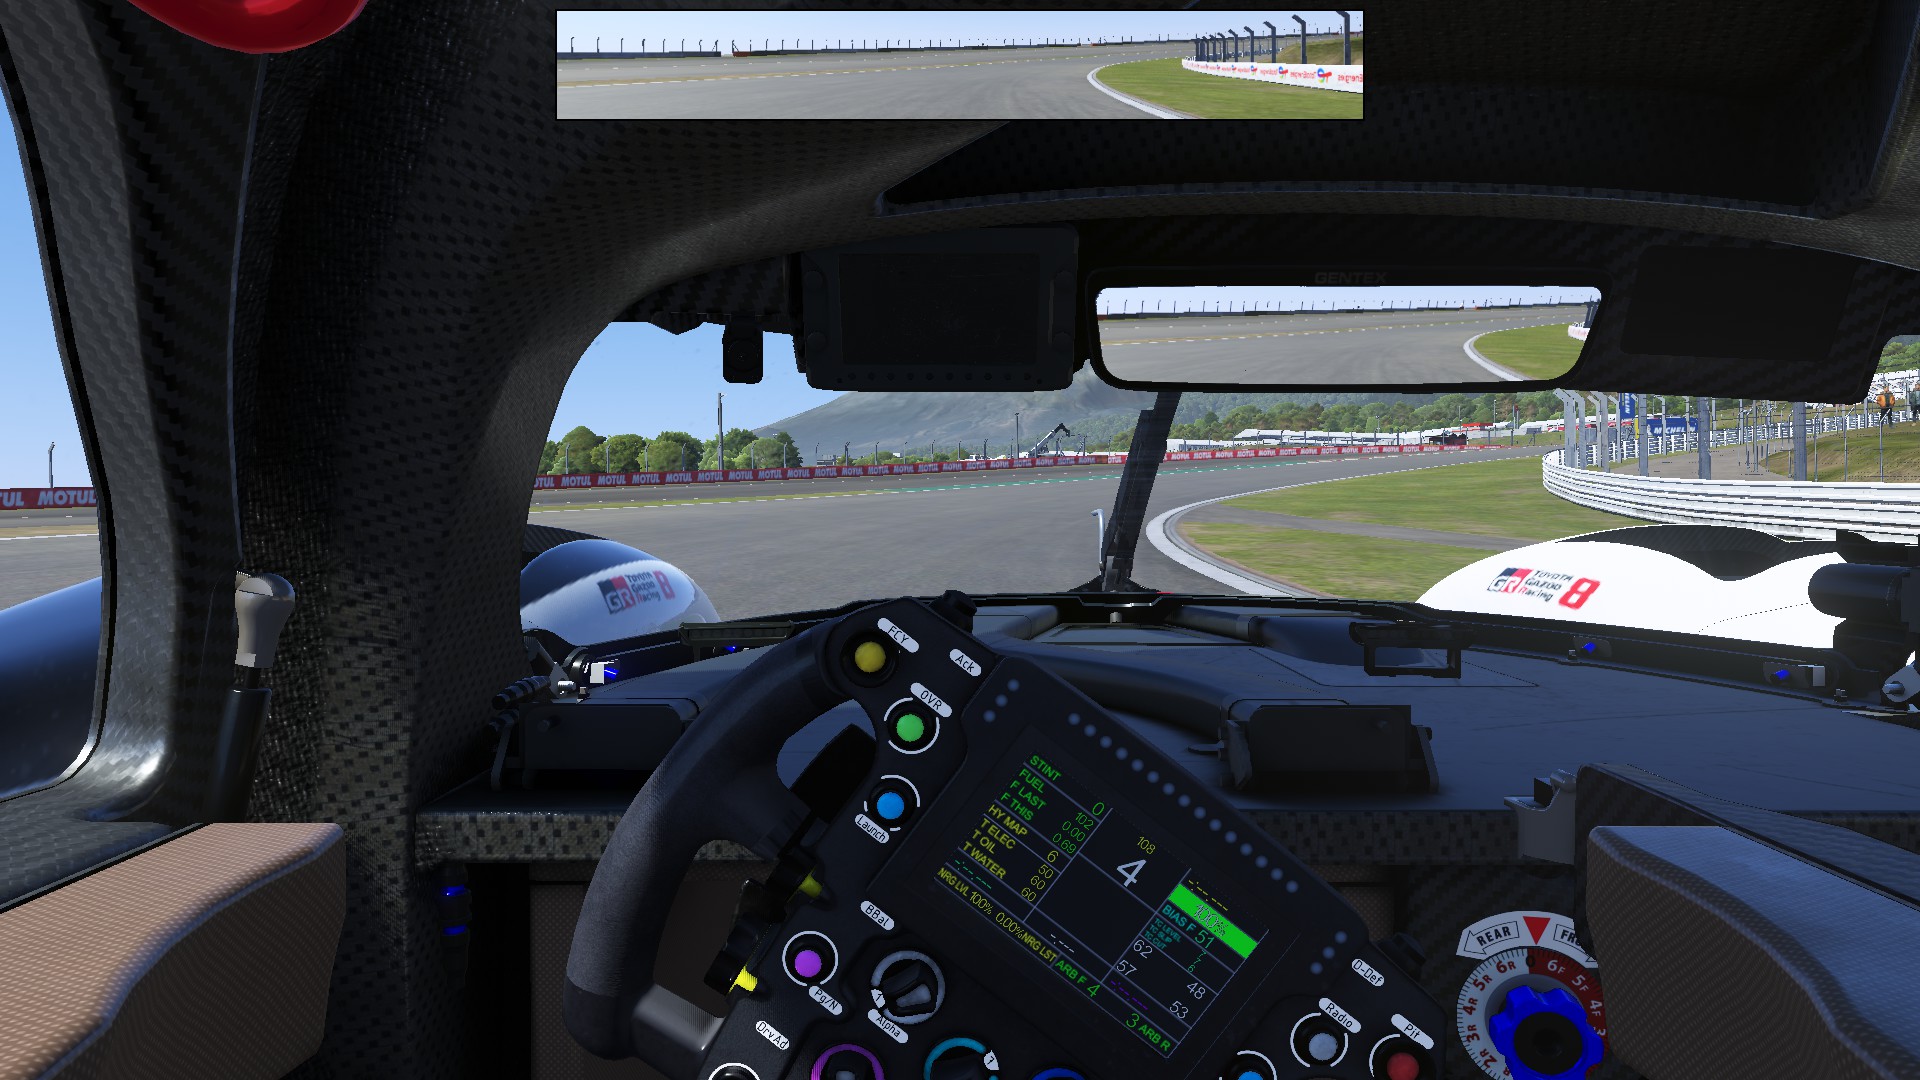
Look for the 50 board on your right-hand side at the top of the fence. Stand on your brakes in between that and the Michelin advertising board above you. As you turn in, slowly let off the brakes.
Allow the car to cut the kerb on the inside of the hairpin. Do not run over the large sloping red area, however, as this will push your car too wide on the exit and scrub any speed you have managed to carry.
Coming out of turn 11 and into 12, you can cut the entirety of the green kerb. This allows you to straight line for the difficult turn 13. Look for a white indicating line on the left-hand side, past the kerb, for your braking reference.
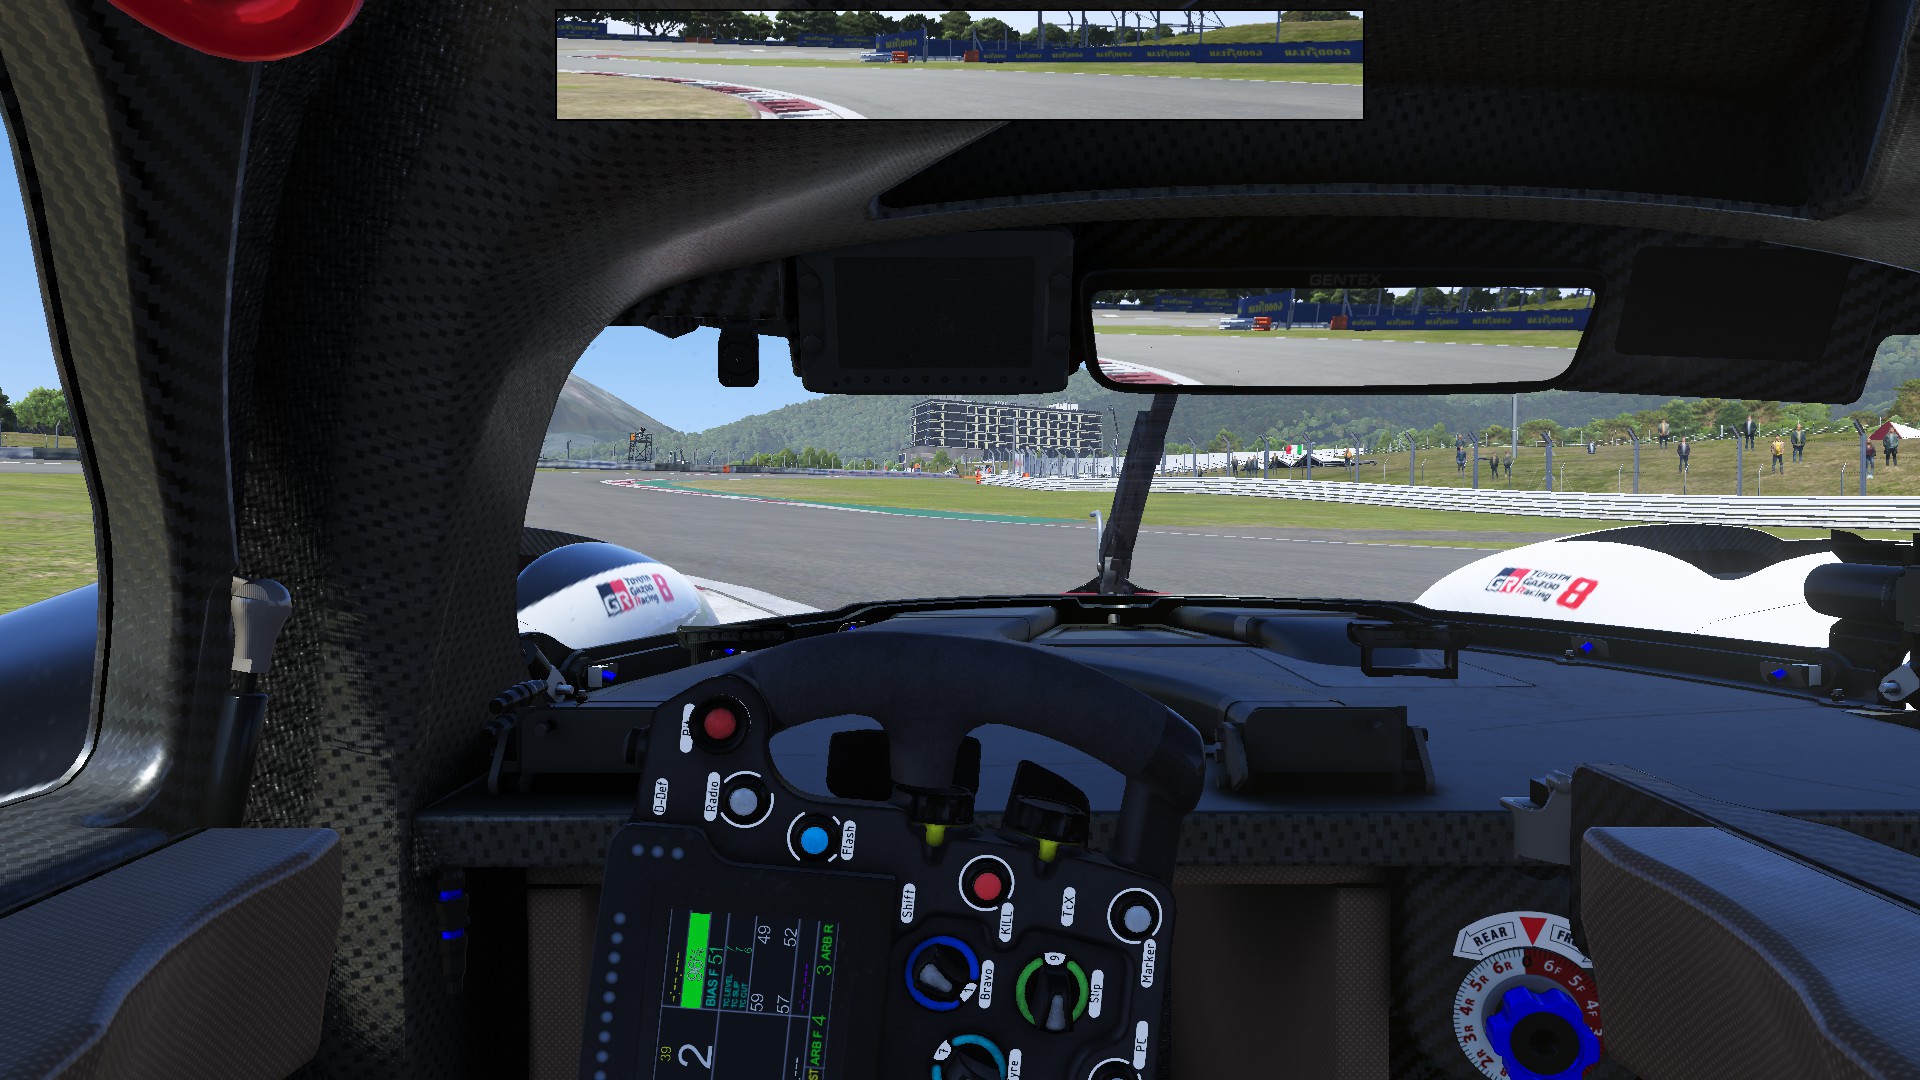
Oversteering at the apex of 13 could be quite a problem depending on how you have set up your car. Make sure you angle your car as far to the right as possible. This eliminates the need to work the wheel and correct the car as much.
Following through turn 13, make sure you are parallel to the kerb on your left-hand side. When that kerb drops off, brake for turn 15. Let the car flow out to the right.
Make sure you are trail braking to allow greater control over your Hypercar of choice. Cutting the kerb on the inside of 15 will invalidate your lap, so be careful with those left-hand side wheels!
Moving into the most important corner on the whole track, turn 16, Panasonic corner. Just beyond the end of the maintenance road on the right should be your braking point. Make sure the car flows out to the left as far as you dare.
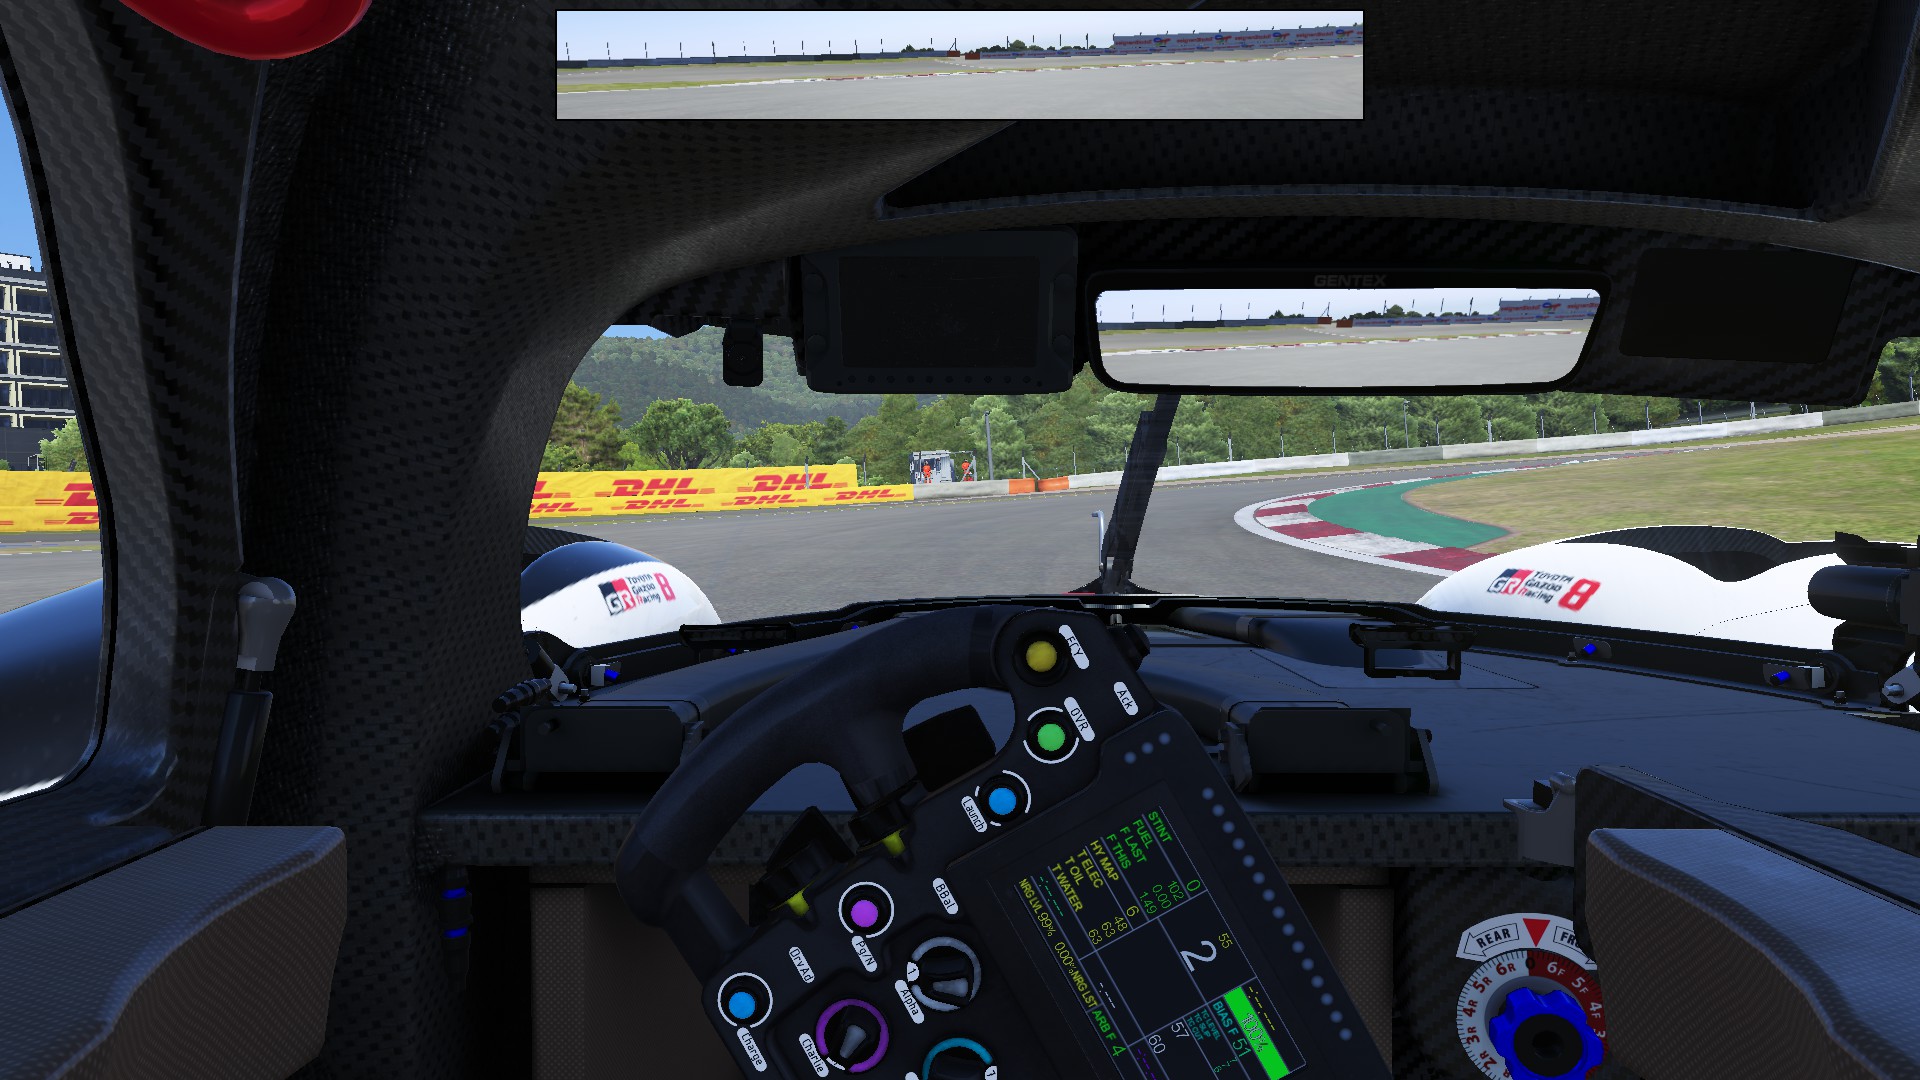
Cut back into the corner for a late apex to give you the best exit possible for the 0.9 mile straight ahead of you. Do not use too much of the inside kerb, it will unsettle the car and ruin your momentum.
Author: Connor Minniss
After you blast down the 0.9-mile home straight, you arrive at the first corner, Daiichi. Be mindful of cars exiting the pits, the pitlane exit is notoriously short. I have had great race results ruined by cars rejoining from the pitlane, be aware!
Brake just after the 150 board and the start of the left-hand side kerb. Remember, the key to race pace is consistency and this first big braking point is where many mistakes are made, especially under pressure.
Once you hit the middle apex of the first hairpin, start opening your wheel out to run out over the kerb to get the best exit through the second corner. Keep your right side wheels solidly on the kerb so as not to invalidate your lap.
The short run down to the third turn, Coca-Cola Corner, should involve you drifting slowly from the middle of the straight to the right before you tap the brakes at the 50 board and drop down from 5th gear to 4th. Make sure you use all the kerb on the inside, but avoid the grass.
Patience Equals Pace
100R is one of the most difficult corners to get consistently correct, move slightly to the middle to open the corner entry up, slowly drift back to the right and lift just before the turn tightens. Wait for your front wheels to bite and you can power through the second phase of Fuji’s 100R.Look for the 50 board on your right-hand side at the top of the fence. Stand on your brakes in between that and the Michelin advertising board above you. As you turn in, slowly let off the brakes.
Allow the car to cut the kerb on the inside of the hairpin. Do not run over the large sloping red area, however, as this will push your car too wide on the exit and scrub any speed you have managed to carry.
Slow And Technical
Moving down towards the third heavy braking point on the track, Dunlop corner. Brake as you come alongside the orange end of the armco barrier and drop to first gear. This allows your car to cut a good portion of the red material on the inside of the corner. Keep the car as far to the right as you can.Coming out of turn 11 and into 12, you can cut the entirety of the green kerb. This allows you to straight line for the difficult turn 13. Look for a white indicating line on the left-hand side, past the kerb, for your braking reference.
Oversteering at the apex of 13 could be quite a problem depending on how you have set up your car. Make sure you angle your car as far to the right as possible. This eliminates the need to work the wheel and correct the car as much.
Following through turn 13, make sure you are parallel to the kerb on your left-hand side. When that kerb drops off, brake for turn 15. Let the car flow out to the right.
Make sure you are trail braking to allow greater control over your Hypercar of choice. Cutting the kerb on the inside of 15 will invalidate your lap, so be careful with those left-hand side wheels!
Moving into the most important corner on the whole track, turn 16, Panasonic corner. Just beyond the end of the maintenance road on the right should be your braking point. Make sure the car flows out to the left as far as you dare.
Cut back into the corner for a late apex to give you the best exit possible for the 0.9 mile straight ahead of you. Do not use too much of the inside kerb, it will unsettle the car and ruin your momentum.
Author: Connor Minniss
