Bahrain
Mainly known for hosting the F1 Bahrain Grand Prix, the Bahrain International Circuit has become a mainstay on the WEC calendar since its first appearance in 2012 as well. The desert track is quite technical, including some tricky elevation changes – never mind the sweltering heat that can engulf the track.
It is hardly a surprise that races there are held either early or late in the year. For WEC, the latter is the case, with the 2023 8 Hours of Bahrain marking the season finale. Starting in daylight but running into the darkness makes temperatures a bit more bearable, and it creates interesting visuals with the countless floodlights cutting through the darkness of the night.
With treacherous crests, late apexes and low-grip parts, the track is not exactly straight forward. So let us dive right into the Bahrain International Circuit, this time in the Vanwall Vandervell 680!
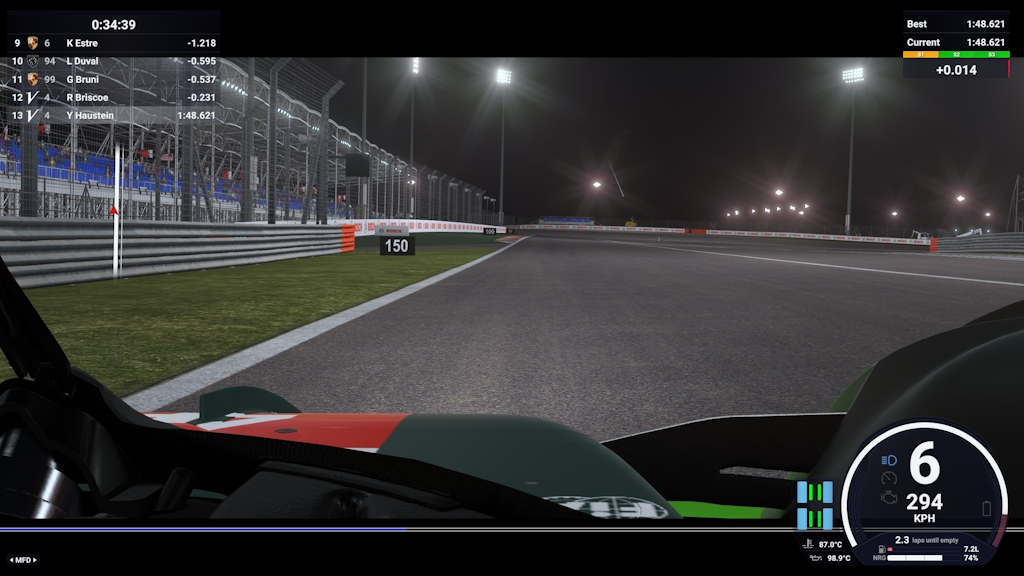
Blasting down the long start-finish straight, a hard braking zone awaits ahead of the Turn 1-2-3 complex. Spot the orange marking on the armco, right alongside the 150 board and an LED flag panel as you are running as close to the left-side edge of the track as possible, then hit the brakes heavily. You want to slow down slightly more than you would think at first, navigate the apex and not drift to the outside.
Turn 2 might not look like much, but the low-grip acceleration zone it is in the middle of is the tricky part. Short shift from first to second gear, take a little bit of kerb on the left side, and straight-line the turn as much as possible. Afterwards, it is full throttle through Turn 3 to end the sequence.
Slowly start progressively applying the power again after this point, but be careful. As the turn runs right over a crest, the car might want to swap ends despite its Traction Control at this point. You will feel when it is safe to full hit the loud pedal again, let your car drift to the left-hand exit kerb, and you have completed the first sector.
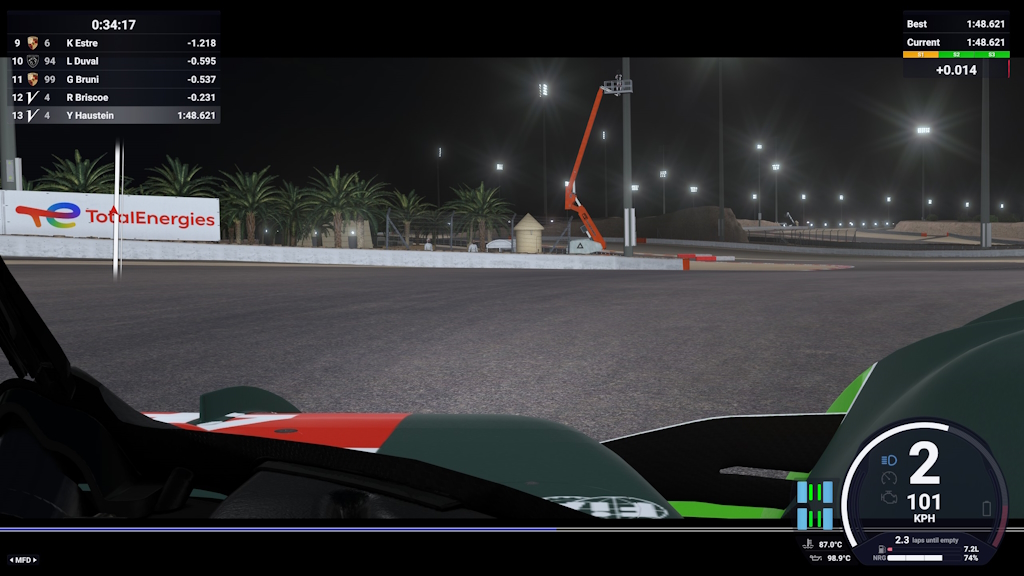
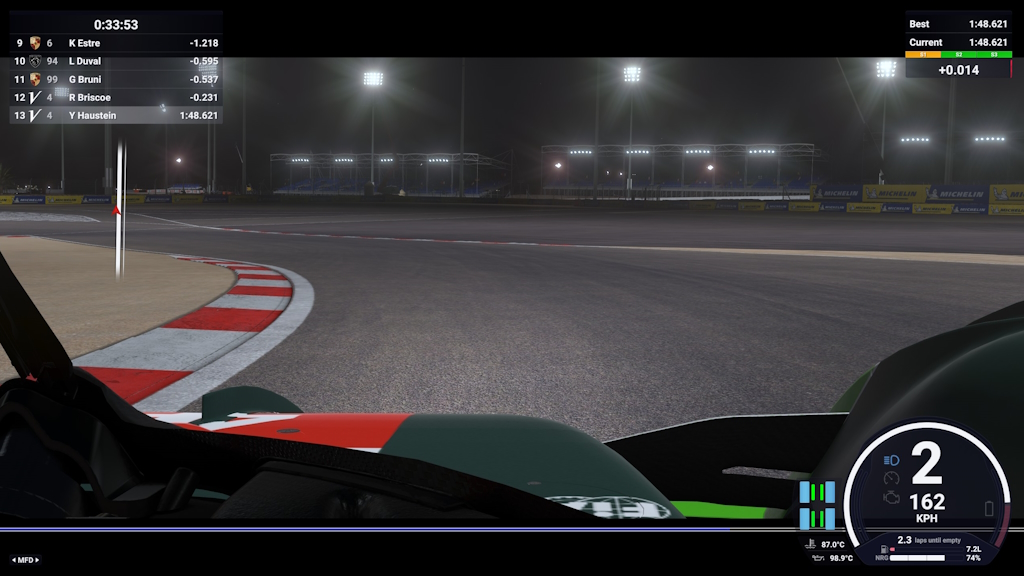
Continuing further downhill, the toughest section of the track lays ahead. Turn 9 itself is not too abrupt, but the very tight Turn 10 follows almost immediately. This makes T9 a left-turning braking zone – it is easy to run wide here or just flat-out lose the car.
Approach Turn 9 from the right, aim for the inside kerb and brake. Immediately shift your focus to the outside kerb as you aim for that and slow down to first gear. Then, turn in tighter than you may think. Unless you are running triple screens or an ultrawide monitor, you will likely not be able to see the apex, so nailing the turn-in point will take some laps of practice to get right. Accelerate away through a slight left and onto the straight leading to Turn 11.
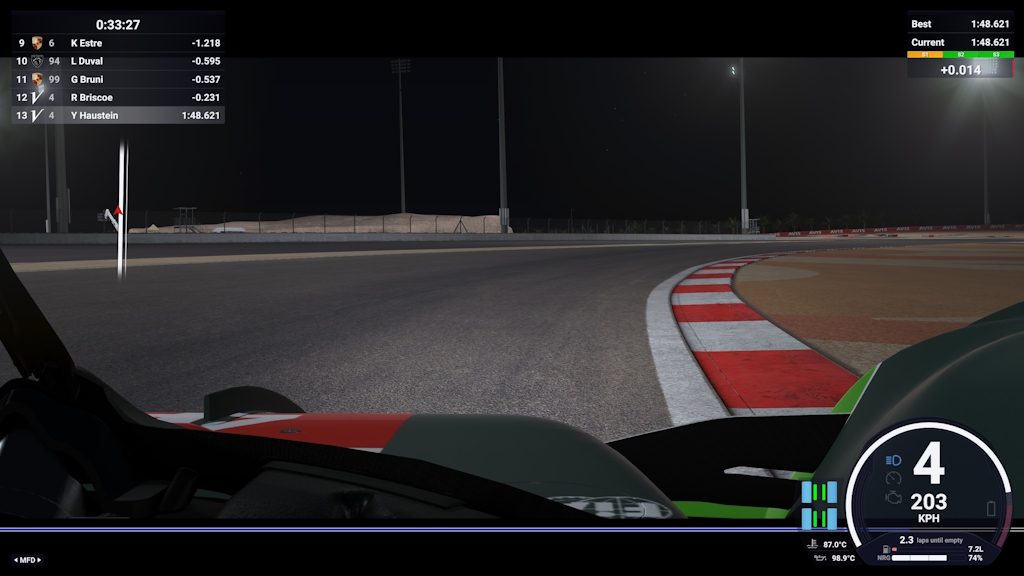
Time to head back up the hill again. As you approach Turn 11, brake just where the right-hand kerb starts. Hit the inside kerb either in second or third gear, then start accelerating again let the momentum carry the car wide to get a good angle for the second apex of the turn. Short shift if needed.
Depending on the angle you were able to create exiting Turn 11, Turn 12 can be taken with just a lift. Wait until you hit the inside kerb to the right, then floor the throttle and use the exit kerb – but not too much, otherwise it will pull you into the run-off.
Prepare to brake almost immediately, as Turn 13 awaits. It features a very late apex, again marked by kerbs. Even though the outside of the track looks like it is already turning right, you will want to wait with properly turning in for the corner. It is easy to miss the apex, however, as I did in the clip. Again, practice is important for this corner.
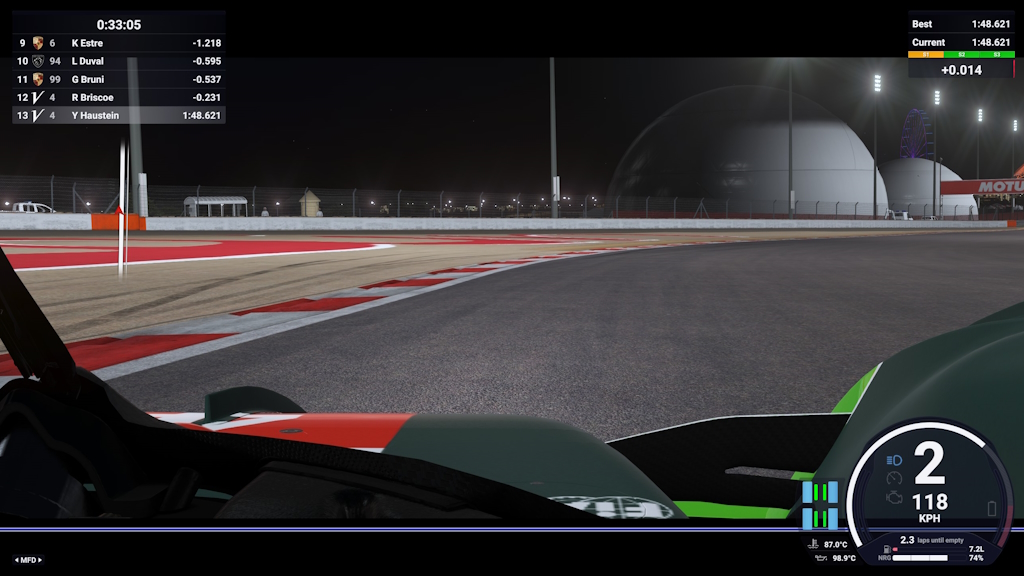
Turn 13 is already part of the final sector, but due to its connection to Turn 12, we decided to leave it in the preceding segment. Exiting T13, you accelerate down the back straight, where your car is going to reach almost the same top speed as on the main straight as the track still goes downhill.
Approaching Turn 14, spot the 150 board or, alternativel, the orange marking on the armco just before the red-and-white barrier to the left. Your braking point is in between those two spots. Shift down to second gear and turn towards the apex, which is slightly off camber.
Take a bit of kerb and accelerate again. Careful, though, as the acceleration zone does not offer too much grip and also features the slight right-hander that is Turn 15. Once you feel the car grip up properly, floor the throttle again and head past the massive main grandstand. And off you go again to disappear into the desert for another lap.
Author: Yannik Haustein
It is hardly a surprise that races there are held either early or late in the year. For WEC, the latter is the case, with the 2023 8 Hours of Bahrain marking the season finale. Starting in daylight but running into the darkness makes temperatures a bit more bearable, and it creates interesting visuals with the countless floodlights cutting through the darkness of the night.
With treacherous crests, late apexes and low-grip parts, the track is not exactly straight forward. So let us dive right into the Bahrain International Circuit, this time in the Vanwall Vandervell 680!
Le Mans Ultimate Track Guide Bahrain: First Sector
Turns 1-2-3
Blasting down the long start-finish straight, a hard braking zone awaits ahead of the Turn 1-2-3 complex. Spot the orange marking on the armco, right alongside the 150 board and an LED flag panel as you are running as close to the left-side edge of the track as possible, then hit the brakes heavily. You want to slow down slightly more than you would think at first, navigate the apex and not drift to the outside.
Turn 2 might not look like much, but the low-grip acceleration zone it is in the middle of is the tricky part. Short shift from first to second gear, take a little bit of kerb on the left side, and straight-line the turn as much as possible. Afterwards, it is full throttle through Turn 3 to end the sequence.
Turn 4
Heading up the hill, look for the 150 board – or, if it has been demolished already, the orange marker on the armco right by the trackside vehicle. Brake, shift down to second gear and start turning towards the apex, which is also marked by a bollard right behind the kerb.Slowly start progressively applying the power again after this point, but be careful. As the turn runs right over a crest, the car might want to swap ends despite its Traction Control at this point. You will feel when it is safe to full hit the loud pedal again, let your car drift to the left-hand exit kerb, and you have completed the first sector.
Le Mans Ultimate Track Guide Bahrain: Sector 2
Turns 5-6-7
Now continuing downhill, Turn 5 is a slight left-hander that also doubles as the braking zone for Turn 6. Hit the brakes at the point where the kerb of the alternate layout joins the track to the left, shift to third and take some kerb on the right on your way through Turn 6. Do not get too eager with the throttle, as you will want to create a good angle for Turn 7 to then floor it through there with the help of some inside kerb to the left.Turn 8
Almost immediately, the first-gear right-hander of Turn 8 follows. Brake just as you pass the Goodyear board to the right (or slightly after the kerb ends) as you move to the left as much as possible. Again, a bollard marks the apex, which is what you want to aim for. Careful on exit, though: The wide kerb might look inviting to extend the track a bit, but its bumpiness will cost you time.Turns 9 & 10
Continuing further downhill, the toughest section of the track lays ahead. Turn 9 itself is not too abrupt, but the very tight Turn 10 follows almost immediately. This makes T9 a left-turning braking zone – it is easy to run wide here or just flat-out lose the car.
Approach Turn 9 from the right, aim for the inside kerb and brake. Immediately shift your focus to the outside kerb as you aim for that and slow down to first gear. Then, turn in tighter than you may think. Unless you are running triple screens or an ultrawide monitor, you will likely not be able to see the apex, so nailing the turn-in point will take some laps of practice to get right. Accelerate away through a slight left and onto the straight leading to Turn 11.
Turns 11-12-13
Time to head back up the hill again. As you approach Turn 11, brake just where the right-hand kerb starts. Hit the inside kerb either in second or third gear, then start accelerating again let the momentum carry the car wide to get a good angle for the second apex of the turn. Short shift if needed.
Depending on the angle you were able to create exiting Turn 11, Turn 12 can be taken with just a lift. Wait until you hit the inside kerb to the right, then floor the throttle and use the exit kerb – but not too much, otherwise it will pull you into the run-off.
Prepare to brake almost immediately, as Turn 13 awaits. It features a very late apex, again marked by kerbs. Even though the outside of the track looks like it is already turning right, you will want to wait with properly turning in for the corner. It is easy to miss the apex, however, as I did in the clip. Again, practice is important for this corner.
Le Mans Ultimate Track Guide Bahrain: Final Sector
Turns 14 & 15
Turn 13 is already part of the final sector, but due to its connection to Turn 12, we decided to leave it in the preceding segment. Exiting T13, you accelerate down the back straight, where your car is going to reach almost the same top speed as on the main straight as the track still goes downhill.
Approaching Turn 14, spot the 150 board or, alternativel, the orange marking on the armco just before the red-and-white barrier to the left. Your braking point is in between those two spots. Shift down to second gear and turn towards the apex, which is slightly off camber.
Take a bit of kerb and accelerate again. Careful, though, as the acceleration zone does not offer too much grip and also features the slight right-hander that is Turn 15. Once you feel the car grip up properly, floor the throttle again and head past the massive main grandstand. And off you go again to disappear into the desert for another lap.
Author: Yannik Haustein
