Hi guys, I'm a newbie and here is my story.

So at some point I realised that "Oh, it would be great to spend some time in SimRacing".
This means I need a build a comfortable seat with a drive wheel. I was looking at Poäng chair in the guest room.
After short research I figured out that I'm not the first one who will use Ikea chair for home driving. I found some interesting solutions, but none of them matched the picture I had in my mind.
So I decided started this project, and now would like to share what I got.
Fanatec Porsche 911 GT2 Wheel
Fanatec CS v1 Pedals
Fanatec set I bought used, but in almost perfect condition for €180.
Poäng chair cost me €25
First things first.
To make something we need to come up with requirements.
1. Cheap. I put myself into tight budget limits for this hobby.
2. Yet the solution should be fairly good and fulfil it's purpose.
3. Compact and revertible. (More on this later)


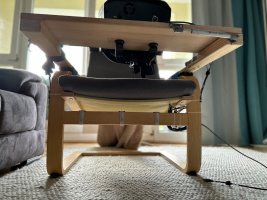
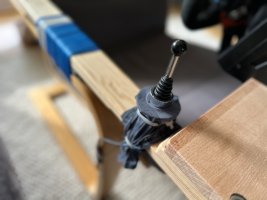
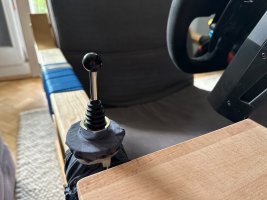
So the wheel base was mounted on the unused bookshelf (from Ikea Billy) sized ~80x27x2, then check how this bookshelf can be attached to the chair.
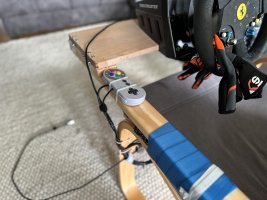
Couple of wood planks left over from previous projects plus some duct tape served well here.

So now we have quite a cockpit. The wheel feels solid and ready to any active driving. It's easy to adjust driving position for kids and adults.
So far so good. Iteration looks successful. Now it's time to use gained knowledge and make a next move.
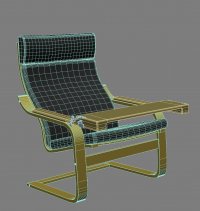
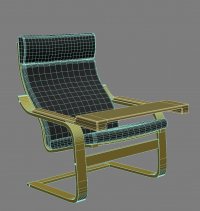
Looks achievable, so let's start with modeling. It's as easy as drawing an owl.
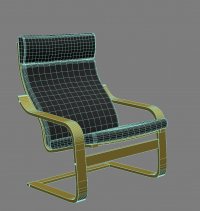
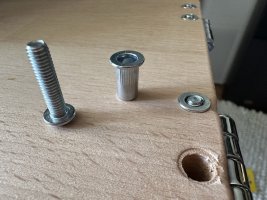
How would we connect parts to each other?
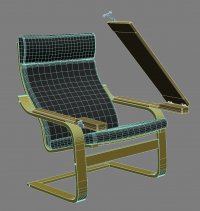
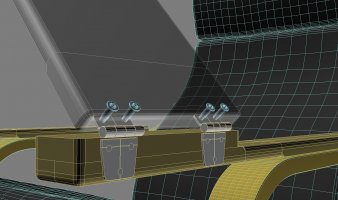
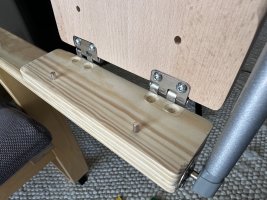
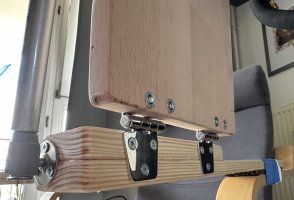
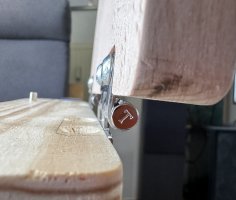
To make it convenient to use we'll make the table openable. For this we need hinges. Let's keep in mind that table should be connected to double-thick basement.
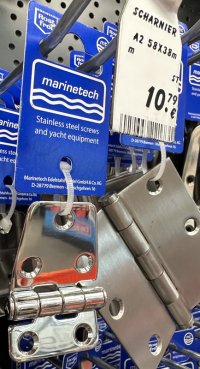
Look is nice. Size is good. Price is ok. Sold.
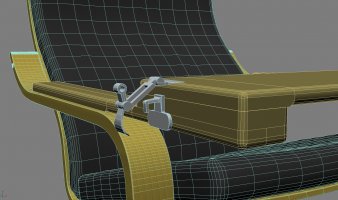
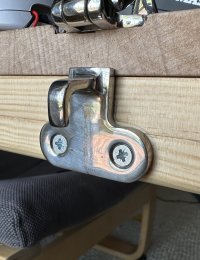
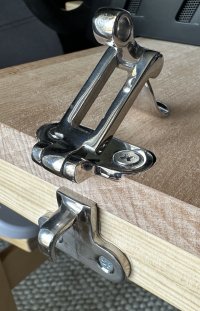
From the other side of the table we need some kind of locking mechanism.
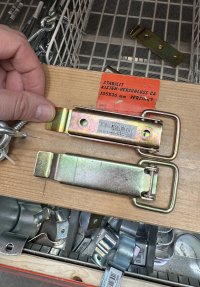
Hmmmm. NO.
The hinges I found in a yachting department. So lets use same approach with the lock.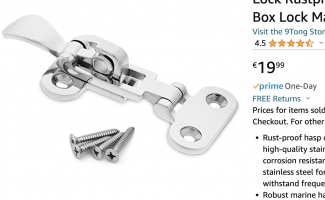
Look is nice. Size is good. Price is ok. Sold.
So at some point I realised that "Oh, it would be great to spend some time in SimRacing".
This means I need a build a comfortable seat with a drive wheel. I was looking at Poäng chair in the guest room.
After short research I figured out that I'm not the first one who will use Ikea chair for home driving. I found some interesting solutions, but none of them matched the picture I had in my mind.
So I decided started this project, and now would like to share what I got.
Gears
PC + TVFanatec Porsche 911 GT2 Wheel
Fanatec CS v1 Pedals
Fanatec set I bought used, but in almost perfect condition for €180.
Poäng chair cost me €25
First things first.
To make something we need to come up with requirements.
1. Cheap. I put myself into tight budget limits for this hobby.
2. Yet the solution should be fairly good and fulfil it's purpose.
3. Compact and revertible. (More on this later)
Iteration 1
Goal:
- Try to drive with what I have and find problems to solve in next iterations.
Findings:
- small table won't work
- the base should be firmly fixed for active driving
- and preferably connected to the chair
Iteration 2 Development loop
Strategy:
- Using known findings come up with a new design
- Try it
- Iterate
Tactics:
- Find a wheel base position so it's possible to attach it to the chair.
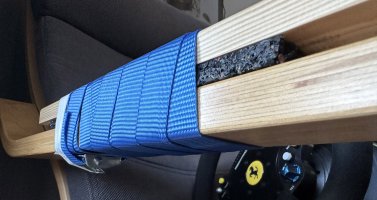
So the wheel base was mounted on the unused bookshelf (from Ikea Billy) sized ~80x27x2, then check how this bookshelf can be attached to the chair.
Couple of wood planks left over from previous projects plus some duct tape served well here.
So now we have quite a cockpit. The wheel feels solid and ready to any active driving. It's easy to adjust driving position for kids and adults.
So far so good. Iteration looks successful. Now it's time to use gained knowledge and make a next move.
PoC Findings:
- convenient to use for kids and parents
- steering wheel feels very solid
- it's super inconvenient to get in and out
- wood pieces and bookshelf made all the chair quite heavy
- steering wheel on a same base as driver body feels better than connected separately.
Iteration 3
Goal:
- Get a fool step-by-step vision for DriveTable build process.
Strategy:
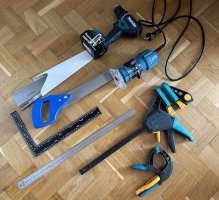
- Understand reasonable toolset
- Create detailed blueprint
- Choose furniture
- Iterate until goal is considered achieved
Tactics:
- take measurements of current prototype, and estimate the size of the DriveTable
- make a Poäng model in a 3d, and draw DriveTable on top of it. Later we'll use this 3d as a blueprint.
Requirements #2
- Solid. Light. Cheap. Simple.
- Easy to get in/out.
- Usable for kids and adults.
- Safe.
- Compact and revertible.
Looks achievable, so let's start with modeling. It's as easy as drawing an owl.
- make Chair.
- make prototype. no image of this step
- make DriveTable.


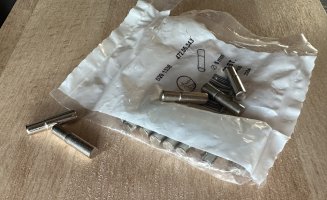
How would we connect parts to each other?
To make it convenient to use we'll make the table openable. For this we need hinges. Let's keep in mind that table should be connected to double-thick basement.

Look is nice. Size is good. Price is ok. Sold.
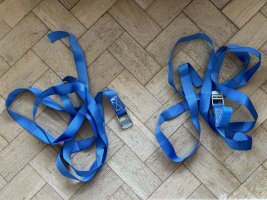
From the other side of the table we need some kind of locking mechanism.

Hmmmm. NO.
The hinges I found in a yachting department. So lets use same approach with the lock.

Look is nice. Size is good. Price is ok. Sold.
Last edited:

