Page 51 in the pdf. Set the internal glass to "AlphaBlend" in ksEditor. Also in editor right-click on the glass of the headlamps and the external windows and correct it's transparency and blending.
View attachment 490399
For the mirrors - to make them work do as I said before: "check the contents of "mirrors.ini" in car's data. There the names of the objects for mirrors have to correspond exactly with the ones on the model. Blender has a bug that causes long names of objects to become auto-modified and that's the cause of trouble with mirrors and lights on some mod cars.To correct that edit the "mirrors.ini" to have the truncated names instead of the long ones."
To make the mirrors appear reflective change the shader on the mirrors materials to ksPerPixelReflection and enter the following values
View attachment 490394
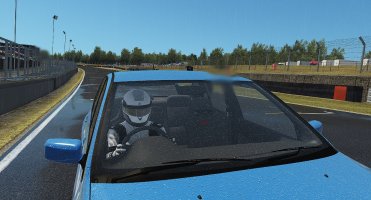
"using blender to flip object. (attachment, there is red in windscreen, is it really need to use 3DSIMED ?) - attach 1"
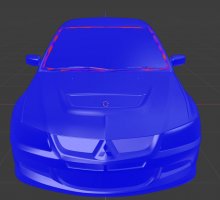
What I see on your pics is the duplicated windscreen that is showing the same texture as the external object from which it was duplicated. That dirt near the edges in "red2.jpg" which shows red in "red.jpg" may be a different object which is facing the wrong way. Usually the cars have separate "black glass" objects near the edges of the transparent glass. In Blender select that red object before duplicating the windscreen and in edit mode flip its normals to make it work on the outside as originally intended. That may plug the gap and stop the rain from falling inside the cockpit.
View attachment 490402
After you do the duplicating and flipping on the glass properly you should see in Blender not red but magenta as the two different glass objects overlap
View attachment 490407
Probable reason for all the trouble with materials in ksEditor is the truncating of long names on some of the objects which after export from Blender no longer correspond with the names in .ini file for the model. Look carefully for other problems besides the glass and mirrors.
This black glass problem is now solved, because I'm not really familiar with blender, your manual is really helped very much!
I think I wrongly rename the mesh and it's structure (page 11 your manual). I'm using blender 2.93.1 when duplicated the mesh, the name not changed to 001 but just shorter name, then when I rename it, all other mesh using that material is also changed. And this particular mod using same material name (that I renamed) for headlight, LF Glass, LR Glass, LR Glass, and RR Glass. That's why it's black. So I ended editing all the material value to isTransparent True in KsEditor.
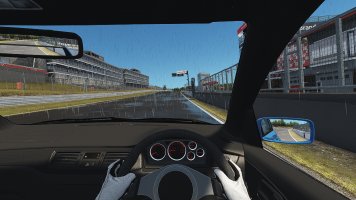
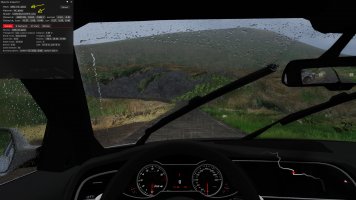
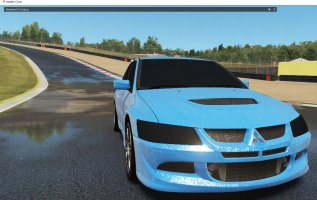
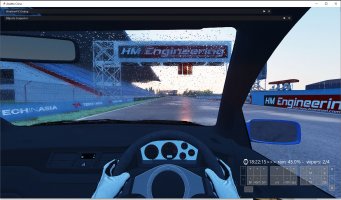
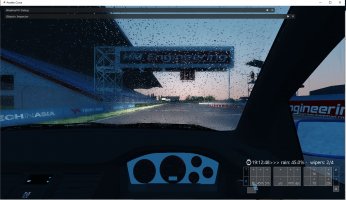
Finally I can make this wet windscreen to work, with duplicating and some move (at X and Z axis) for make sure it precise (and close the gap) in blender. (finally.JPG)
--------Start from here, my question a little out of topic------
"Probable reason for all the trouble with materials in ksEditor is the truncating of long names on some of the objects which after export from Blender no longer correspond with the names in .ini file for the model. Look carefully for other problems besides the glass and mirrors."
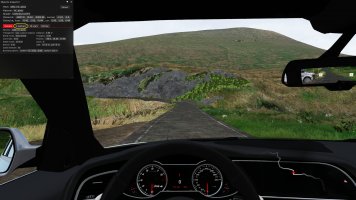
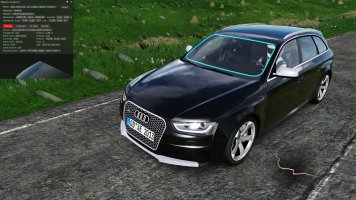
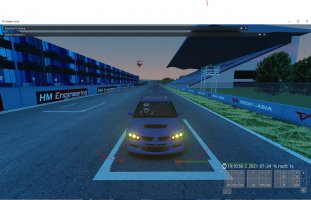
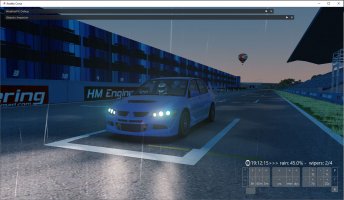
I can confirm this, and I need to made changes object name in my ext_config.ini files since all lights used different name object now. Another problem still not solved is headlight effect on track, that's just in data/*.ini file right? Or is there any object that also become different name? (no_track_effect.JPG)
EDIT 1:
Headlight problem solve! actually there is just setup in ext_config.ini
[LIGHT_HEADLIGHT_0]
AFFECTS_TRACK=1
NAME=*MESH NAME LEFT HEADLIGHT - FOR ON TRACK EFFECT*
COLOR=10,8,7,1
FALLBACK_HEADLIGHTS_COLOR=255,241,224
BIND_TO_EXTRA_A=1
LAG=0.5
SIMULATE_HEATING=1
LOCATION=FRONT
CAST_LIGHT=1
[LIGHT_HEADLIGHT_1]
AFFECTS_TRACK=1
NAME=*MESH NAME RIGHT HEADLIGHT - FOR ON TRACK EFFECT*
COLOR=10,8,7,1
FALLBACK_HEADLIGHTS_COLOR=255,241,224
BIND_TO_EXTRA_A=1
LAG=0.5
SIMULATE_HEATING=1
LOCATION=FRONT
CAST_LIGHT=1
[EMISSIVE_EXTRA_A_1HEADLIGHTS]
NAME=*MESH NAME RIGHT HEADLIGHT - FOR EMISSIVE HEADLIGHT*
COLOR=80,255,147,41
FALLBACK_HEADLIGHTS_COLOR=224,255,255
BIND_TO_EXTRA_A=1
LAG=0.5
SIMULATE_HEATING=0
LOCATION=FRONT
CAST_LIGHT=1
[EMISSIVE_EXTRA_A_2HEADLIGHTS]
NAME=*MESH NAME RIGHT HEADLIGHT - FOR EMISSIVE HEADLIGHT*
COLOR=80,255,147,41
FALLBACK_HEADLIGHTS_COLOR=224,255,255
BIND_TO_EXTRA_A=1
LAG=0.5
SIMULATE_HEATING=0
LOCATION=FRONT
CAST_LIGHT=1
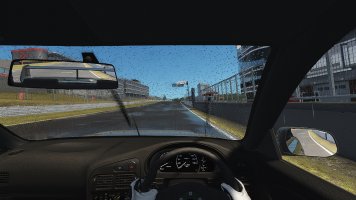
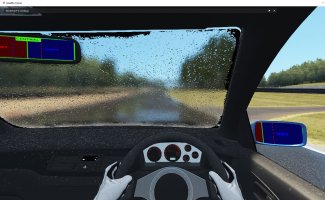
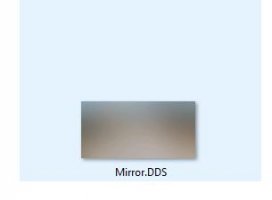
For the mirror, I used the step you wrote in post before, and editing mirror.ini really helping. Is it really necessary to use mirror.dds. And Is this correct image ? (mirror.JPG). Because now the mirror is working but looks like it have wrong angle. so If I can see right mirror, middle mirror not showing anything. When I adjusted the POV, I can see middle mirror, but I am out of the car.
Thank you very much for your advice and help!


") Modding support of Assetto Corsa is it's best feature.
Modding support of Assetto Corsa is it's best feature.